Contact Points
Clutch
Oil pump drive gear
Flyweel rotor
Final drive
Monday, August 15, 2011
Boring and honing cylinders.
I had the cylinders bored and honed at a local machine shop .25mm over, which is the first oversize, to receive NOS pistons I picked up on Ebay.
Top End
Top End
- Sandblast and powder coat cylinders and heads, matte black.
- Overbore the cylinder .25mm
- NOS 54.25mm pistons
- NOS Piston rings
- Refurbished and Zinc coated head bolts
- Yamaha head bolt washers
- Yamaha Exhaust gaskets
- Copper head gaskets
- Yamaha cylinder base gaskets
- NGK B8HS spark plugs
Before and After
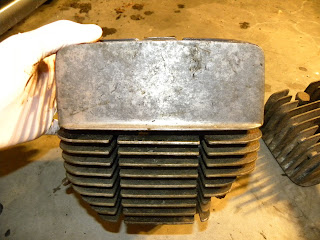
Cylinders and Heads
247~250cc DisplacementMake sure all threaded holes that are meant for screws/bolts are plugged prior to powder coating.
BEFORE
AFTER, Sandblasting and powder coating.
Getting into the engine...
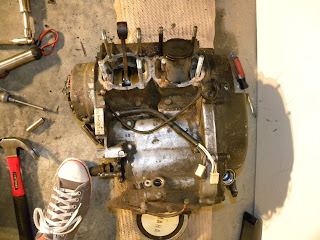
Top end removed and contact points side cover.
One piston, cylinders and heads removed from the top end of the engine.
Documentation
I try to do as much documentation as possible to help aid reassembly, (i.e. photographs, diagrams, laying things in order, zip-lock bags) organization is key.
Tear Down
Not the best picture ever but, I just started stripping things off and eventually got to the engine. Make sure to keep all bolts and washers, small parts, sealed in zip-lock bags so reassembly is a breeze. This older Japanese bike came fitted with a lot of Phillips fasteners that strip extremely easily even with the most caution. I recommend investing in a screw extractor set.
Subscribe to:
Comments (Atom)


